Walt Disney World Military Salute Discounted Tickets Detailed Guide

A few weeks ago, my husband and I decided to take advantage of the 2018 Military Salute Disney tickets. I hope this post will fill you in on a few military opportunities concerning Walt Disney World Orlando. Feel free to view the table of contents below and scroll straight to the information you are searching for.

Today’s Topics:

LRM_EXPORT_2217222189619_20181104_192135031

Disney Military Salute Tickets

Although it changes every year, Disney has 5- day park hopper tickets available to active duty military for $246. They also offer 4-Day tickets for $226, but what’s $20 more at this point? That’s the price of a 2-day base ticket at the gate. 2018 is also the first year that Disney offers this deal to DOD civilians as well.

One military member or DOD civilian can activate 6 tickets. People accompanying the service member do not have to be dependents. You can purchase these tickets at the travel and leisure office at many of the military installations, although our base in Savannah only had 2 passes left when we bought ours. You purchase the vouchers on base and exchange them for a Disney pass at the ticket booth of the first park you visit.

The tickets will expire on December 19th of the year they were purchased. For example, we only bought our tickets a month ago, but they will expire this December 19, 2018. So, if you want to go next year, 2019, you have to wait until January to purchase them. There are no longer black-out dates for military salute tickets, so you can split up the days and use them however you want within the year.

LRM_EXPORT_2031370163388_20181104_191829179
Vrbo

When to Go

If you can, try to go during October, January, or February when most kids are in school. Weekdays are an amazing time to go because, 1. Resort stays are cheaper, and 2. The park is much less crowded. We went to Epcot on Friday, and it did not get crowded until 1pm. You may be able to ride everything in the park and explore every country by 2pm like we did.

Try to get to the park at least 30 minutes before it opens to go ahead and knock out your favorite rides while the lines are low. Even on Sunday, we were able to ride most attractions at Magic Kingdom before noon. I’m not sure why. I’m guessing because it’s tough to get out the door early with little ones, but I don’t have any yet so that’s just a guess.

LRM_EXPORT_2710660402452_20181104_193318794

Eating at Disney

Food prices are not terrible at Disney food kiosks. It’s the drinks that get you. Bring bottled water and refill it at fountains all over the park. In Magic Kingdom, go to Sleepy Hollow Refreshments in Liberty Square before 12:00 and enjoy a ham, egg, and cheese waffle sandwich for $8.99.

Here is a budget eating schedule option while at the Disney Parks:

Breakfast before the park (eggs, cereal, muffins, fruit, etc.)

Light Lunch in the park and a shared coffee or coke for some extra energy (trust me, you’ll need it)

Snacks in your backpack (tuna pouches and crackers, trail mix, fruit, granola)

Late Dinner after you shut down the park at any restaurant still open on the way back to the hotel. Weird tip, the Speedway gas station when you leave the Magic Kingdom parking lot has a 24/7 food bar with hot sandwiches, salads, etc.

It is not necessary to avoid all food at the park of course, as most kiosk food is only like $10-$15. We just found that it was much easier to get on rides during times that everyone else was eating

Saving so much on park tickets and lodging may allow you to splurge a little on special dinners or character events. Contact Sarah Lawrence to book any extra fun activities that you would like to do while at Disney World. You can enjoy a dinner-date at the happiest place on earth, and end the evening watching fireworks together. You may could even pack a wrinkle free dress in your backpack to change into for cute pictures. Or if you are staying on Disney property, you can just go get ready at the resort and come back.

LRM_EXPORT_3087777704798_20181104_195124960

Lodging for Disney Parks

Disney has several resorts to choose from. They vary from luxury resorts all the way to Fort Wilderness campgrounds. Shades of Green is a resort especially for U.S. military and their families as well as DOD civilians. From the looks of their website, Shades of Green is pretty booked for the rest of the year so be sure to plan ahead if you want to go in 2019.

During the holidays, prices jump up to about double, except if you book nights during the week. Weekday prices are very affordable and worth it for the dining options, transportation, character fun, and no parking fees ($25/day)! Prices are different per night depending on your military rank. E-1 though E-6 is the cheapest and officers and DOD civilians have the highest rates. I’ve noticed that the availability calendar is a little difficult to navigate, so it is probably easier to call about available dates.

They offer a food package deal, which can include breakfast and/or dinner at their Garden Buffet into your nightly rate, but I’m not sure if it is useful as most mealtimes will be spent at the parks. If Shades of Green is booked, the Disney Animation Resort, Movie Resort, and Sports Resort are often around the same price. But once again, plan ahead for next year. If you are a loyal Marriott Member like myself, Marriott also has a Westin on Disney property that will shuttle you to Epcot and Magic Kingdom and is included in Extra Magic Hours.

Orlando does have hotels that are cheaper than staying on Disney’s property, but the convenience factor is a major benefit of lodging with Disney. Parking adds up for one thing. We spent $75 alone in parking while staying off the Disney property. Also, Disney resort visitors get the privilege of EMC (Extra Magic Hours), as mentioned above for the Westin, at certain parks. Check the days you are going and see which parks you can go early or state late in.

LRM_EXPORT_3121611619525_20181104_195158794

One military and DOD perk that many don’t know about is Armed Forces Vacation Club. They offer condos and hotels from well-known companies like Wyndham Resorts for a super low price. There are several hotels in Kissimmee, Florida for $349 for 7 nights. Our favorite resort for the parks is Club Whyndam Cypress Palms that is only a 15 minute drive from Magic Kingdom. The only catch is that each stay is usually Friday-Friday or Sunday-Sunday, so you have to be willing to take a full week of leave or just forfeit a few nights. But for just $50 a night, you may just want to book the week and stay for 4 nights or so. This option is great if you are going to Orlando with a larger group as most of these resorts offer 2 bedrooms, a pullout couch, and a full kitchen.

Staying at Disney or at a hotel with breakfast and a Disney shuttle would be my first two recommendations, followed by Armed Forces Vacation Club.

LRM_EXPORT_3026905646957_20181104_195024087

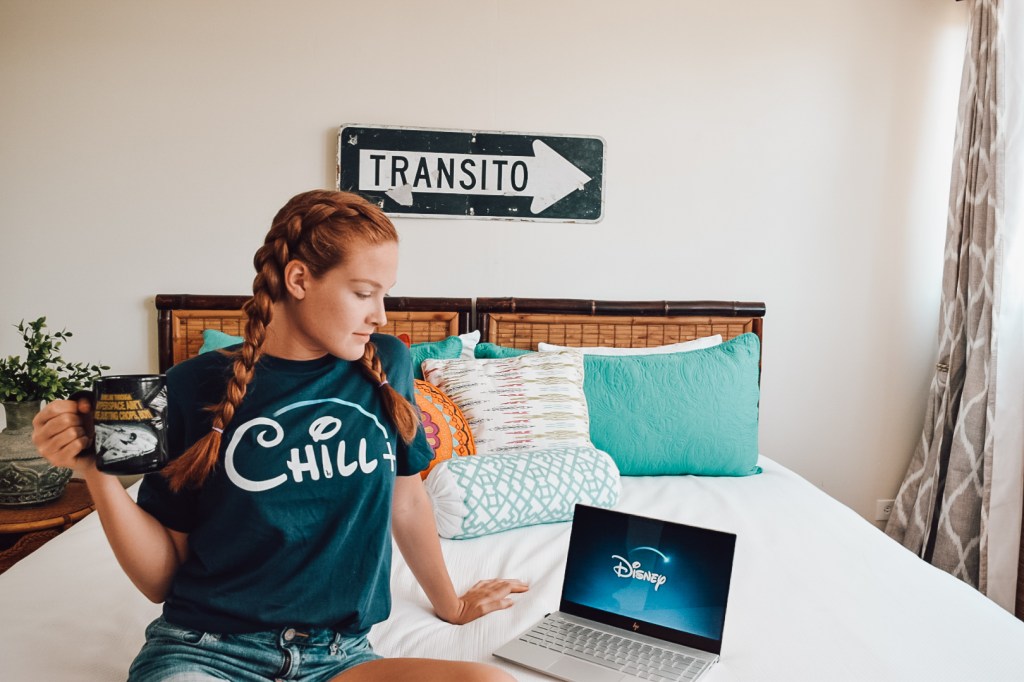
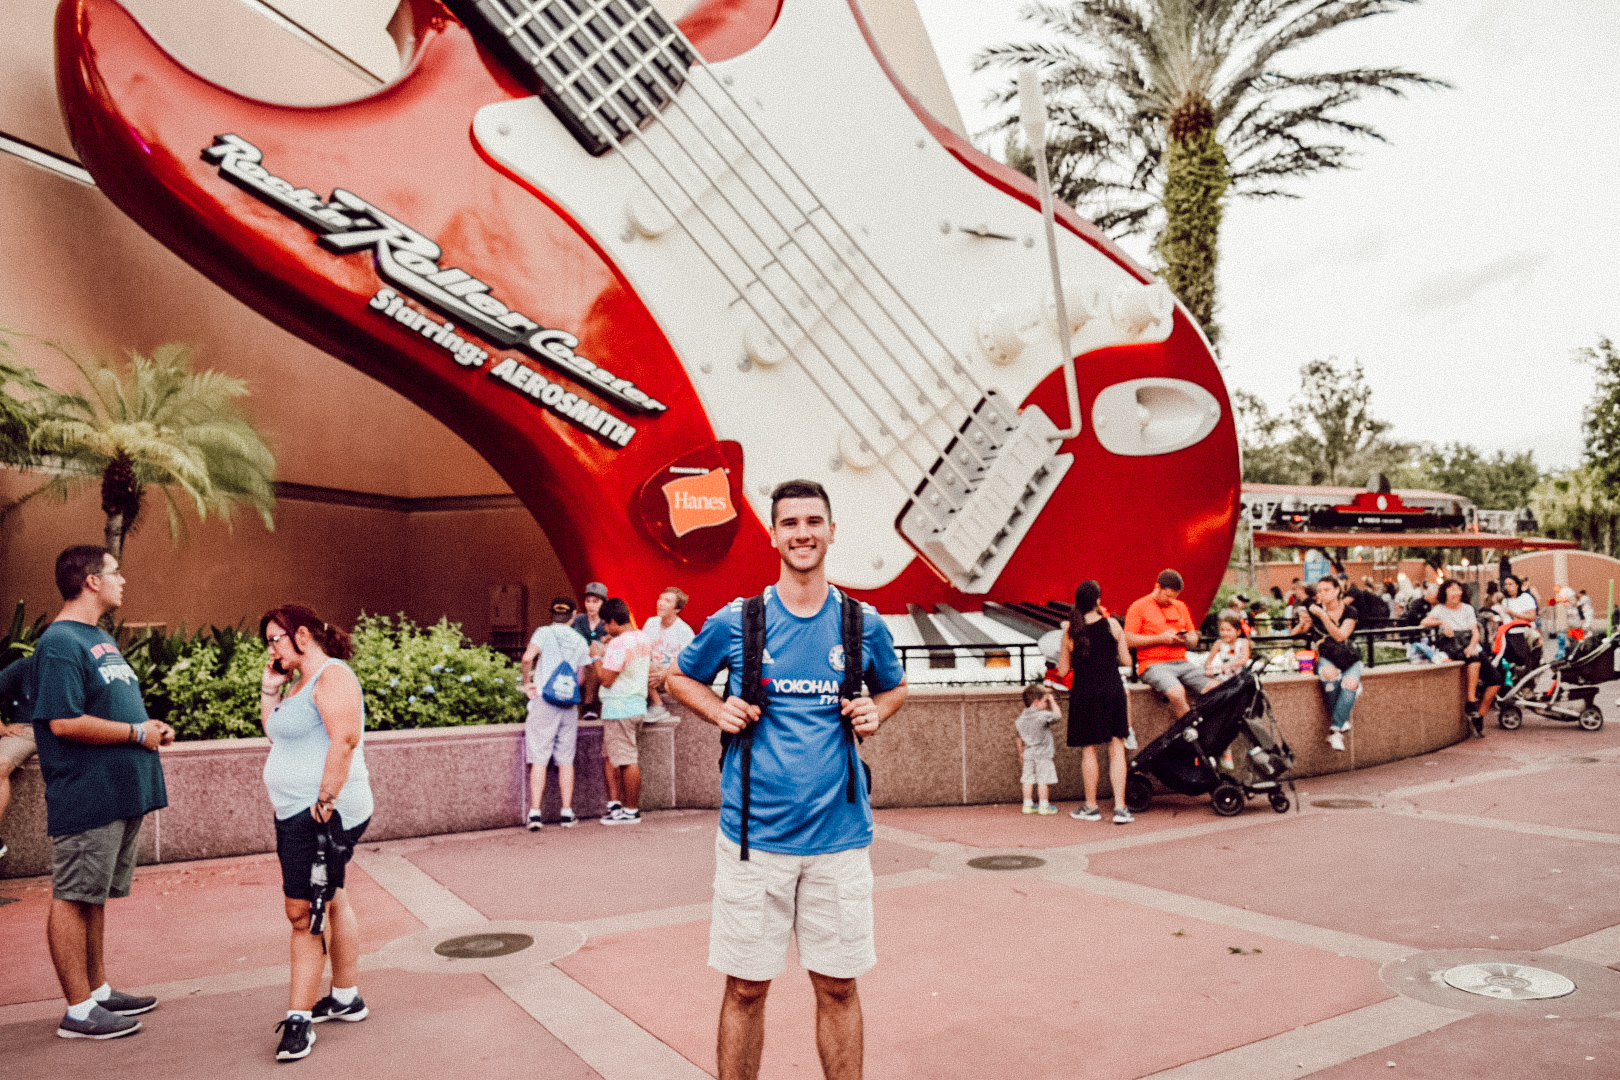
Best T-Shirts for Cute Disney Pictures

My favorite company for great Disney tees is LLama Wrangler . I found this company on Instagram and immediately reached out. I have scoured Etsy and just cannot find tees that I really like. However, Llama Wrangler’s owner and designer, Adam, puts his passion for Disney and art in each of his designs. Just like the Mickey faces are hidden all over Disney World for you to seek out during your trip, the LLama Wrangler logo is hidden in each t-shirt design, which I think is super fun and creative. My favorite design is the Up Movie themed Adventure shirt as Up is my and my husband’s favorite love story.

You can use my discount code: “KatieLovesLlamaTees” at checkout for 15% off of your entire order.

I reached out to work with Llama Wrangler as I loved the designs they offered. These shirts were gifted to me in exchange for my honest review.

I hope this post helped you in planning your next Disney World adventure. Honestly if you live within driving distance, I can’t think of an easier vacation for military families than Orlando theme parks. They are a blast, easy to plan, and incredibly affordable.

Happy Travels,

Processing…
Success! You're on the list.

Advertisement

Hike Hawaii: Oahu Trails with Incredible Views

This past week, March 7-14th, I spent my spring break from college in Oahu, Hawaii, and I miss it already! I’ve learned a few things about the island that I hope you can take with you on your Hawaiian adventure. The water was actually cooler than I expected so we opted to hike SEVERAL trails along the Southern Coast and North Shore. Luckily, hiking is free (besides $5 parking) so you don’t have to spend tons of money on Oahu to have fun. I would recommend taking on all of these hikes, but will say that my legs were feeling pretty tired by the end. To help with your trip planning, I have included a map with all hiking locations and will give you as much information as I can about the difficulty level, crowds, and landmarks as some trail heads are not easy to find.

Kealia Trail

On almost the furthest west side of the North Shore hides a wonderful trail right next to an airport that’s popular for skydiving and paragliding. This hike was slightly difficult to find, but Google Maps works just fine right up to the turning point that leads to the parking lot. Once you turn left after the airport runway into a road labeled “Access Gate,” keep going until there’s a parking lot on your left. Once parked, walk to the right and head toward the mountains down a gravel path until the “Kealia Trail” sign steers you in the right direction. This hike is 3.5 miles up, and consists of several switchbacks and rocky, uneven paths. The view is most beautiful during the hike so be sure to stop for some pictures rather than hoofing it up to the top so fast. At the top, after the picnic table, explore the trails that go further. Once you reach the artwork on the water tower, there’s not much more to see as your view is covered by trees. This trail takes about 4 hours from leaving the car to returning back down. On the hike, you might see several skydivers jumping from planes that took off from the airport below as well as gliders coasting over the ocean. March weather is perfect for hiking! However, even in Hawaii’s winter, it gets hotter toward the afternoon. Try to hike no later than 10am to 2pm in January-March, but in the summer, go as early as you can. After a job well-done, hop in the car and enjoy the coastal highway, H3, admiring the beauty of the land and the talent of the surfers. Perhaps spend the evening at the Polynesian Cultural Center buffet dinner and Breath of Life Show, which I will discuss in a future post. Unless you can reserve that for another time earlier in the day, which is what I would recommend.

_DSC2347-01

_DSC2358-01

Koko Crater Trail

This trail is challenging and steep, but the view from the top is incredible. The parking lot most people use for this trail is also used for ballfields, so it’s pretty crowded. Arrive no later than 8-8:30am in March if you want a spot. Koko Crater Trail is not for the faint of heart. It goes straight up for about 1,500 steps. The trail is an old railway with worn down ties and washed out dirt. It is only about 1.5 miles, but it takes about an hour or two to get to the top. You will weave in and out of those going up and will try to get out of the way of those experienced crazies running down! This is why I say you should go earlier than 8:30 if you can. The less people, the better. At the top, you’ll see why you climbed all that way. Hanauma Bay is in front of you and the giant crater is behind. There are plenty of high platforms on the top of the mountain for great pictures, including the old railway car housing. Spend a good 30 minutes to an hour photographing the views, meeting fellow conquerors, and hearing their stories. On the way down, if you are a less-than-avid hiker (I am just that) hike sideways to alleviate pressure on your knees while descending. The descent will be a breeze compared to the climb. This hike is the most difficult that some people will ever experience, but it will also be the most rewarding. Once you make it back down, don’t forget to look back at the impressive feat you just accomplished and remind yourself that it was all while on vacation.

_DSC2478-01

_DSC2486-01

_DSC2498-01

Diamond Head Trail

As one of the most famous hikes on Oahu, Diamond Head is always crowded. However, the parking spaces free up fairly quickly so wait in line until one is available. You will most likely head to the trail with a large group of others unless you get there when gates open at 6am. However, everyone has their own pace so the trail is not unbearably crowded nor is it extremely narrow. No matter, there will be hikers of all ages, so I just accept the fact that this is going to be a slow, leisurely hike. Explore every inch of this hike, and climb every set of stairs. Even if they look intimidating, you won’t regret it. Close to the top, there is a set of yellow stairs to the right, which you will want to ignore, but really should climb because it’s cool! There is a battery with rusted metal doors and a small artillery area that was used in WWII. The top of Diamond Head is so crowded that you might not want to stay long, but at least take in the city views to your right and the coastal waters to your left. Remember, gates open at 6am. So if you’re an early riser, beat the crowd.

_DSC2679-01

_DSC2703-01

Manoa Falls

If you’re not tired after Diamond Head, eat lunch and drive to Manoa Falls, which is about 20 minutes north. Once again, Google Maps takes you straight to this hike, and parking is about $5. Manoa is a 3 mile hike round trip. As you begin the walk, you’ll see why they chose this location to film Jurassic Park as it’s filled with bamboo shoots and jungle views that seem to go on forever. Although there is very uneven terrain, this hike is fairly easy most of the way, only getting difficult toward the end near the waterfall. You may see a few groups hiking along with you, but the real crowd comes at the waterfall. People wait for good spots to take pictures, but there probably never will be one. The bottom of the fall is just deep enough to reach your ankles, but the water is freezing! On your hike back, you may see a girl finishing up her music video in the bamboo shoots, and it will sound really good! I found her on Instagram, @OLIVIATHAI. She was on American Idol XV and won both Taiwan Idol and Megastar!

_DSC2753-01

_DSC2741-01

Makapu’u Lighthouse Trail

The last hike of this post is a 1.5 mile steep walk up a paved road. The ground is even, but the climb escalates quickly. After all this hiking, your legs may be giving out at this point, so it may seem more difficult than usual. The scenery is beautiful the entire way, with views of the rocky coast and bright blue crashing waves. It may begin to rain as you reach the top, but don’t turn back after going so far. The rain comes and goes in Hawaii. Now, I’m not going to lie, don’t expect a huge lighthouse, but its surroundings are still breathtaking. The waves will look like they have blue dye in them as they crash against the rocks. After staying at the top for quite a while, make your way back to the car and take a load off. Head to Waikiki and reward your efforts with an acai bowl from Tropical Tribe. Hopefully the sun will make an appearance, and you can spend the rest of your day on the beach where they film Hawaii Five-0.

received_10204787734129726

Here’s just a quick snapshot of how amazing Oahu really is!


I hope this was helpful in planning your next adventure!

I used an Akaso adventure camera for all my videos in Hawaii. It was amazing and way cheaper than a Gopro. The wifi feature doesn’t work, but that’s the only issue, which I think is well worth a $100 savings! Also, if you submit a review on Amazon, they will send you a whole package of accessories for free! It comes with body and head straps, extra batteries, etc.

We rented a home in Alewa Heights while visiting this amazing island. Check out great Hawaiian vacation rentals at VRBO!

Purchasing any items on Amazon through these links, and not only the ones that I mention, help me to share useful tips with you about travel, so thank you!

3 Days Exploring Paris – Total Cost & Itinerary

Enter your email for my FREE 3-Day Paris itinerary:

Processing…

Keep reading for my Paris details & cost :

Check out great Paris vacation rentals at VRBO.com.

Photo by Margerretta on Pexels.com

On our tour of Western Europe, my friends and I spent three days in Paris, exploring as much of the city as we could. Surprisingly, we got several highlights of this magical city done in a small amount of time- I’ll explain how in this blog. The best part about Paris is the Metro, which will get you anywhere in no time at all. We didn’t get a metro pass for this short trip, but chose to just buy about twenty tickets at a time and split the cost. Our days in Paris were May 16-May 18, 2017. This was still pre-tourist season, but it was getting busier as summer was quickly approaching.

Here is a recap of our Paris adventure, followed by suggestions and total costs of each day:

Day 1:

Monmarte, Sacre Ceour, Café Le Consulat, Eiffle Tower, & Arc de Triomphe

Our starting point to Paris was in Mons, Belgium, where my friend’s family lives. We picked up our friend from the Brussels airport on May 14th and headed to the Mons train station at 7:20 am on May 16th. We bought our train tickets about 2 months before our trip to Paris because prices were quickly rising. We took the high-speed Thalys train, made a few connections, and arrived in the Paris-Nord train station around lunch-time.

The train station is about 10-15 minutes from Monmarte, a very scenic area, famous for its beautiful Sacre Ceour church and artists. We locked our belongings in a giant locker at the train station and took a bus to Monmarte. This was the only time we would be close to Monmarte as it is further away from the heart of Paris. The bus dropped us off at the bottom of the lengthy stairs, which led to the incredible Sacre Ceour church. At the top, we could see the entire city as well as the beautiful inside of this enormous church. Surrounding this church are multiple artists who paint their favorite views of their beloved city. Paintings ranged from 20 euro to hundreds, and they were well worth every penny. I just did not have it in my budget to buy one though I really did want to take them all home with me. Next, we had lunch at the famous café, Le Consulat, which is the most photographed and posted café in all of Paris. We had omelets and tap water. Thankfully, Paris will serve you tap water for free, unlike any other place that we visited in Germany or the Netherlands. After lunch, we took a bus back to the station, retrieved our belongings from the lockers, and took the metro to our Airbnb apartment.

Photo by Pixabay on Pexels.com

Our Airbnb in Paris was not as great as all the other ones we stayed in throughout this trip. We made it to the entrance of the apartment, but it was locked with a key pad. We checked the rule book on our Airbnb booking online and could not find the code so we were locked out. When we called the host she said, “The code is online,” and hung up! Luckily, another apartment resident arrived and let us in. I looked just now, and this apartment is no longer available on Airbnb, so that’s good. This was the only bad experience we had out of our 6 Airbnb stays during our Europe travels. I still think Airbnb is the best way to travel affordably, just read all the reviews before booking. Once we retrieved the passcode, we got our key, dropped our stuff off, and headed to the Eiffel Tower.

20170516_203920

Just a few left turns took us to the Metro, which got us to the most famous street in the world in just a few minutes. Packed with locals and tourist alike, Avenue des Champs-Élysées runs between the Place de la Concorde and the Place Charles de Gaulle and is home to the famous Arch de Triomphe. Guards and rails blocked underneath this massive structure as a ceremony was being conducted at the time. However, there were plenty of available spots for great pictures. We continued down the street, seeing the beautiful architecture of uniform buildings with iron terraces. The famous bridge, covered in gold statues and carvings was incredibly busy. We decided to enjoy it from afar and make our way to the Eiffel Tower. This large structure that is the epitome of Paris beauty is far bigger than I ever imagined and is just as romantic as I pictured it to be. Vendors selling roses stopped couples nearby, convincing men to buy the love of their life a red flower to express their feelings. The Chainsmoker’s recent single, Paris, was literally playing everywhere, and cheap key chains and souvenirs were laid out, begging for tourists to pick them up. We splurged this evening and ate at a nice restaurant as nothing is cheap around the Eiffel Tower. Unfortunately, I got sick off of seared tuna steak and we had to turn in before night-time approached and the tower lights lit up the sky.

Photo by Daria Shevtsova on Pexels.com

Total Cost of Day 1:

Train to Paris- $60, Metro 5 euro, Dinner 20 euro, Post Card .20 euro, Apartment Stay: 50 euro. Total: 135.20 euro = $161.69

Day 2:

Louvre, Lunch in La Marais, Galeries Lafayette, Laduree Macarons, Rue Montorgueil Market Street, & Train Railroad Park (Promenade Plantee) Picnic

I felt much better the next day, which was good because we had no time to spare. After eating a quick breakfast of boiled eggs and yogurt, which we grabbed the day before in a grocery store, we headed off for more adventures in Paris. This day was filled with admiring famous paintings, window shopping, and lots of eating! We left about 8 am to beat the crowd to the Louvre. Only waiting about 30 minutes in line, we spent about 2 hours in a museum that could take weeks to completely accomplish. Da Vinci’s Mona Lisa resides inside this massive structure, but don’t have high hopes. I found all the other paintings much more beautiful. Why she is so famous is still beside me.

Photo by Shvets Anna on Pexels.com

After exiting the museum, we enjoyed the view as we strolled the sidewalk that was lining the Seine River. Unfortunately, the bridge that was once famous for its love locks had been stripped of the massive amount of metal that had been weighing it down. A few locks remained on the light posts, but the bridge was mostly bare. My favorite part of this walk was the green boxes atop the river guard walls, which looked like nothing early in the morning while they were closed. However, when their owners came to open them, the boxes proved to be filled with old French novels, souvenirs, and paintings of the city. For lunch, we headed to Le Marais, which is located in the 3rd and 4th arrondissements of Paris, consisting of lovely cafés and secret passages that open up into gorgeous boutiques. We went inside Galerie Vivienne.

20170517_162319

Next we headed to the part of Paris that was way out of our league, but we didn’t care. The first stop was at Galeries Lafayette- the very first department store ever built. Filled with Gucci, Prada, and 300 euro sundresses, we breezed through each level admiring the exquisiteness of it all. The real reason we came to this store was for the view. Galeries Lafayette has a terrace at the very top that displayed the most spectacular view of Paris, including the Eiffel Tower, Notre Dame, and the Palais Garnier.

The department store was surrounded by other high end shops so we window shopped until we reached the famous Laduree macarons. Some visitors bought dozens of flavors, but we each just bought one each as we were still full from lunch. Heads up, the salted caramel macaroon is a great choice! We got some chuckles from the employees as we took several pictures in the adorable shop, but hey, it was our first time in Paris!

Next on the list was to buy some food for a picnic that evening. We took the Metro to Rue Montorgueil Market Street, where bakeries, cheese and wine shops, and rotisseries line the streets and fill it with mouth-watering aromas. We each grabbed the dinner of our choice and took the Metro again to Promenade Plantee, an old railroad bridge that has been transformed into a park. I had never seen anything like this. We climbed up the stairs and entered into a narrow pathway surrounded by trees and flowers with benches for stopping to enjoy the nature.

20170517_190232

Our last stop for the day was the famous Rue Cremenieux. Each house on this street is painted a different, pastel color. No one knows why, but the residents have maintained this tradition, making this neighborhood a fun little walk to enjoy when sightseeing nearby.

Photo by Vincent Rivaud on Pexels.com

Total Cost of Day 2:

Metro- 5 euro, Café- 13 euro, Louvre (student discount) – 13 euro, dinner- 15 euro, Apartment stay– 50 euro. Total: 99 euro= $118.85

Day 3:

La Chappelle, Notre Dame, Museum D’Orsay, Latin Quarter

We left at 9:15 on our last day and walked to Saint Chappelle, the famous church. The stained glass windows were very ornate, but other than that it was not really worth 11 euro. The Sacre Ceour and all the other churches in Germany and the Netherlands were way more impressive and free. I don’t regret seeing it as it was beautiful, I just wouldn’t go again. However, I could have marveled at the Notre Dame all day long, and it was free. The detail in every inch of its architecture explains vividly why the Notre Dame took 200 years to complete. A story unfolds in the carvings that completely cover the solid stone walls of this church. On the inside, a herd of people uniformly circled around the outside of the pews, reading the history behind such a masterpiece as a choir was beautifully singing American hymns.

20170518_105055

For lunch, we walked to the lively Latin Quarter, which is filled with cheap, delicious food and souvenirs. Crêperie Chez Suzette on Rue de Huchette caught our attention as it served savory crepes that were perfect for lunch or dinner, and were only 5 euro if ordered to-go at the window. I got one filled with Mozzarella cheese, mushrooms, onions, and red bell pepper… best thing I’ve ever eaten in my life, no lie. We crossed the street and got the cutest gelato dessert at Amorino. The server sculpted my frozen treat into a rose on top of a small cone.

20170518_125804

Down the street was the famous, Museum D’Orsay, where we got through the line fairly quickly and received a student discount of 2 euro off our ticket. Though the Louvre displayed all types of art, this museum contained mostly paintings, but they were amazing. At the top of this museum was a giant clock that was perfect for silhouette pictures so be sure not to miss it.

That evening, we headed back to the Latin Quarter to eat a cheap dinner and grab souvenirs. I’m a coffee addict so, of course, I NEEDED a Paris mug and my friend got her sister a book from a small bookstore that would be every bookworm’s dream come true. Shakespeare & Co. is a small store with books that reach up to the ceiling. Outside, there was a guitarist playing and singing for visitor’s enjoyment, and tips.

Our last day in Paris ended with a light rain just as we finished walking back to our apartment. We opened the window, brewed some coffee, and relaxed to the pitter-patter of the rain as we prepared for a train ride to Germany the next morning.

Total Cost of Day 3:

Sainte-Chappelle- 11 euro, Museum D’Orsay- 9 euro, Souvenirs- 9 euro, Lunch- 6.50 euro, Gelato- 3.90 euro, Dinner- 5.50 euro, Apartment Stay– 50 euro. Total- 84.90 euro= $101.92

Paris can be done in 3 days; however, if you want to enjoy everything that this magical city has to offer, I recommend staying at least a week.

Photo by TravelingTart on Pexels.com

I hope this detailed itinerary of my trip to this breathtaking city has given you the sense of urgency to visit Paris yourself. I promise you won’t regret it!

Lovely Travels,

Katie